


I used Photoshop CS3 for this tutorial. Everything works the same if not similar in newer programs as well as these processes can be transferred and used in free programs like GIMP with a similar setup.
Step One
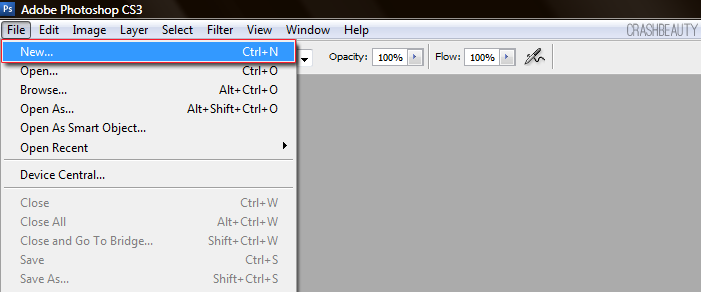
We are starting fresh so you will need to create a new image.
Step Two

Be sure when you create your image you set the background to transparent. (If you forget use the magic erase tool on the white or whatever color background to completely remove it.)
Step Three

Chose the ellipse tool from your shape tool.
Step Four

Remember if you want a perfect circle hold down the Shift key. You can choose your color before or after. (After? look to the layers menu.)
Step Five
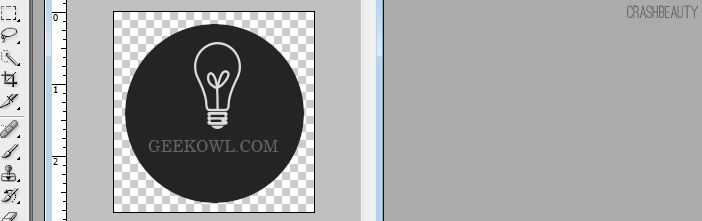
Add, draw, text, pattern… Whatever you want on your button. (If your image overlaps you can use the mask tool from layers box. Right click and create clipping mask similar from the happy holidays post I created.)
Step Six

Finally be sure to save the image as a .PNG which will allow the background to stay removed. A JPG or JPEG will add a white background to the image and a gif should be reserved for animated images. PNG is more compressed but retains the crisp look where JPG can sometimes degrade the photo.
You can also use this for your twitter image or wordpress icon.
Was this article helpful? Share some examples!


