

This is a fun way to make headers or even your site header using Photoshop. The way you may go about this might vary slightly but the icons are the same. This was done on Photoshop CS3.
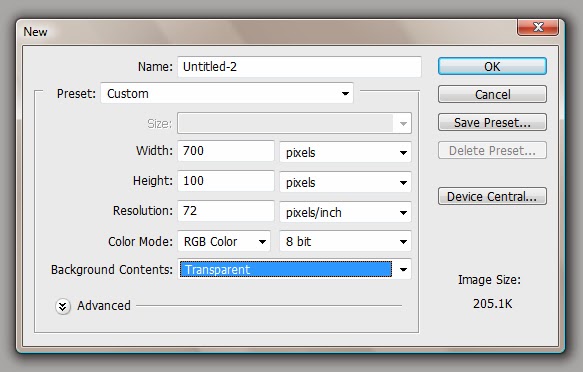
1. First you want to open your program and create new (from file menu). I normally set my bg as transparentso the end result will show up nicely against a number of backgrounds (Not just white).
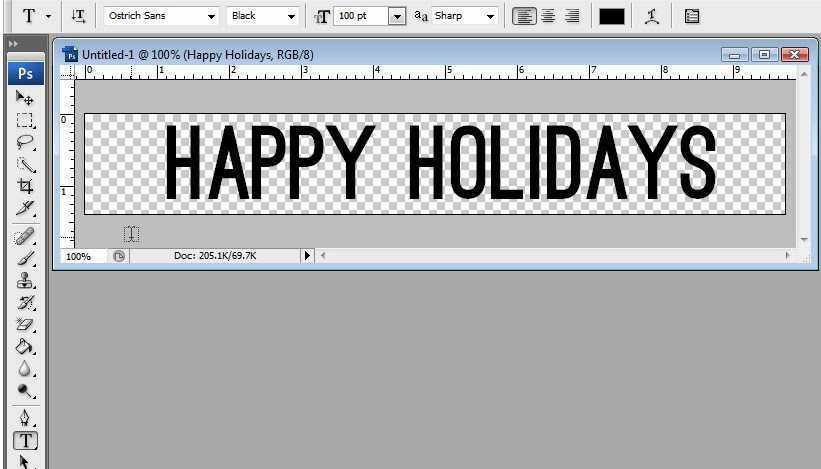
2. Use the text toolto add the text you want. Adjust the font and text size to your desired look.
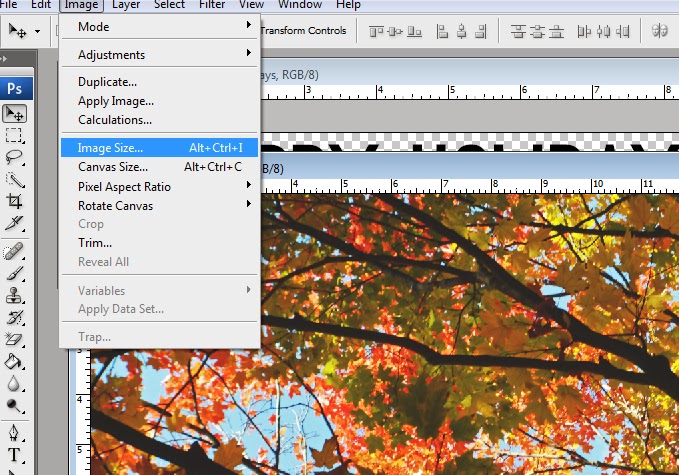
3. Locate your photo you want to use and drag or open it into Photoshop as well. (If your photo is very large I suggest re-sizing it so it is easier to work with.)
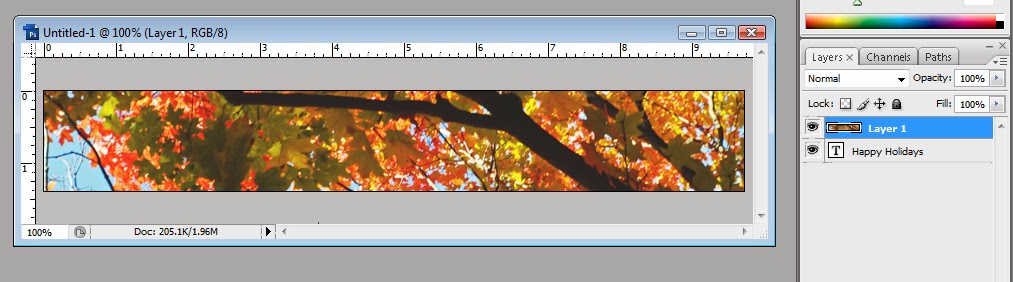
4. Drag and drop the photo from its window over to the image window with the text. The image will then lay on top of the text and you shouldn’t be able to see the text.
5. Now look to your layers window. You should have two separate layers.

6. Right-click the layer with the photograph and select create clipping mask.
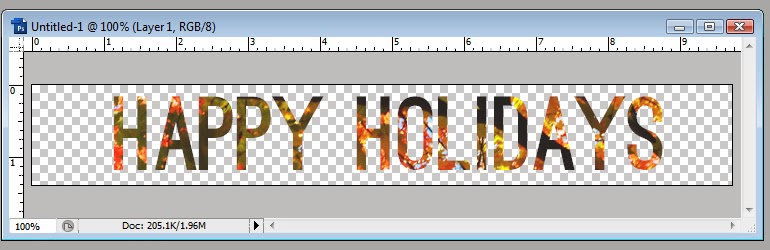
7. This is what it should look like. (You can still move the photograph around if you want to adjust the way it looks.)
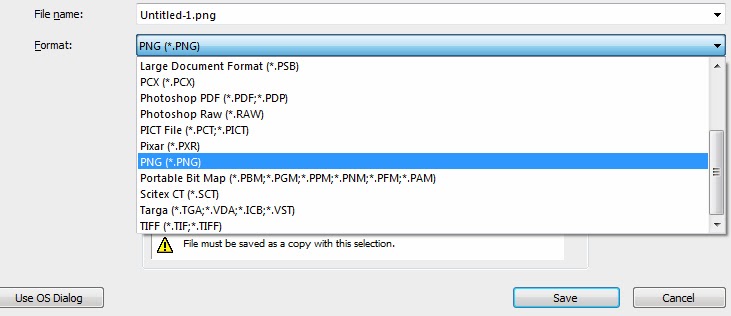
8. Go to File > Save As > give your file a meaningful name > change the file type to PNG > Save
FINITO!
Was this tutorial easy to follow?
Do you have something you have been dying to learn?
Let us know!


